
Trailer Maintenance Checklist: Getting Back On The Road

It’s been sitting idle for too long. It’s just itching to get out on the road and do some heavy hauling. It’s time to get your trailer out of hibernation and back into running order. Trailers are just like cars and trucks: they need to be maintained and serviced regularly. That’s why we have put together this handy trailer checklist. If your trailer has not done any towing in months, you need to properly ensure that it’s ready to go when you are.
Step 1 – Tire condition and pressure
Flat-spotted tires, low tire pressure, and even the dreaded dry rot, a lot can happen to your trailer wheels when not in use. That’s why it’s important to visibly check your tires for any rips or tears. If your tire sidewalls are brittle, harder than normal, or if cracking is evident, then you have dry rot. There is no remedy for this type of tire deterioration. The best thing to do is to replace your tires because of the inherent dangers of leaks, holes, and blow outs.
Once you’ve performed a check on your tires as part of your trailer checklist, and found them to be in good working order (don’t overlook the spare!), it’s time to check air pressure. If you do happen to have flat spots, the good news is that as you drive and as your tires rotate, they will warm up. This means that driving at highway speeds for approximately 20 minutes will offset most tire flat-spotting.
Step 2 – Wheel hubs and lug nuts
It’s pretty easy to perform this part of your trailer checklist. Start by jacking each of your trailer wheels off the ground. Now it’s time to see if you can physically wobble each tire. If you do get some movement, you may have to tighten the bearings. Next, spin each wheel. Hearing a rumbling noise means that the bearings will need to be replaced. Your trailer wheels should be silent when spinning. Furthermore, to keep your wheels spinning, it is important to re-torque the lug nuts.
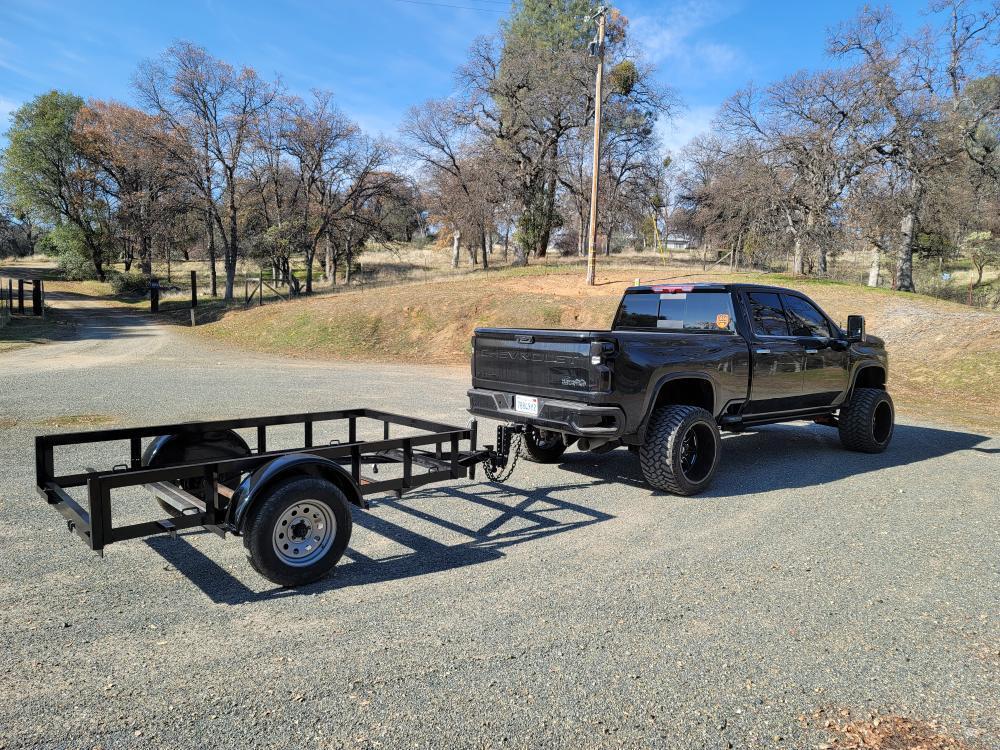
Step 3 – Tow hitch
The next step on the trailer checklist is to inspect the hitch. Look for signs of rust and use a product like Evapo-Rust to kill the rust before it gets worse. Furthermore, with a ball mount hitch, it’s important to ensure that all the moving parts are lubricated and moving freely. While some hitches require a lot of maintenance and will eventually fail, BulletProof Hitches™ are designed to be the last hitch you will ever need to buy. Every one of our hitches is made with solid steel that is chemically analyzed to ensure the highest quality possible.
Step 4 – Lights & Wiring
The next part of the trailer checklist is to couple your trailer to check that all the lights and wiring are working properly. Especially if it has been exposed to the weather, we want to ensure all of the wires and connections are in good working order. Here’s a pro tip: clean your trailer’s tail light lenses. This will markedly increase their intensity, ultimately making you safer on the road. With the lens cover off, now is a good time to remove all globes and ensure that the connections are clean. If not, these can be cleaned by lightly rubbing with some very fine sand paper and a rag.
That’s it, you’re all set to tow! Using the trailer checklist above and ensuring all of your trailer registration and insurance is up to date means that you are now ready to hit the road with trailer in tow.
